
Wiring Configuration
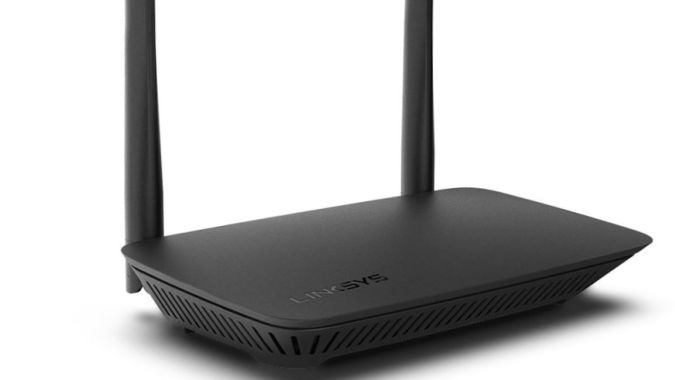
Plug in the router power supply. The lights for the router should light up. Most routers will have at least 3 lights (or different color lights). One will be for power, one will be for internet status, and one will be for WiFi status.
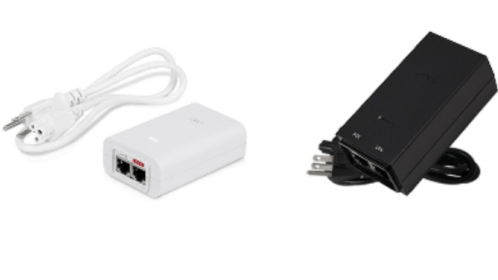
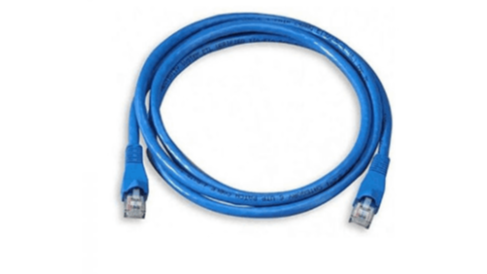
Plug the Ethernet cable into the WAN/Internet port on the back of the router (usually colored differently or separated away from the other Ethernet ports usually labeled LAN). This Ethernet cable should run from this port (WAN/Internet) to the LAN port on your receiver's power supply (about 3in X 2in X 1in with a 5in power cable).